As “seasoned” ergonomists, we have been using digital cameras for years – our first digital camera, purchased in 1995, cost $1500, took grainy black and white photos, had a non-replaceable battery, internal (only) memory, and held a maximum of 20 photos. And yet, we were ecstatic to be able to put photos directly into our documents; this was “cutting edge”!
We use digital photographs in our reports to:
- highlight concerns such as awkward posture
- display tasks and postural requirements in a physical demands description so people outside our organisation can better understand the jobs
- show “before” and “after” scenarios where we’ve made ergonomics improvements
What’s so great about “digital”? Much lower costs, and easier to use in documents! With digital photos, you can take 200 pictures of an event and use only the best 10! You can print your photos at home, or upload photos over the internet. (Remember the days of taking film cartridges to the photo shop and then coming back a week later to pick up your prints?) Digital cameras offer more “self correcting” features. They will help you to take better night-time or panoramic shots. They can flash only when they need to, or on demand. Traditional cameras tend to require more skill and experience; the photographer has to adjust the settings and choose the appropriate lens. Digital photography allows you to edit photos yourself. Even the most computer-shy photographer can learn to crop a photo.
You can also correct brightness and contrast. When a photo turns out too dark, most photo editing software will easily correct the brightness and contrast so it prints beautifully! When we use photos in our reports, we typically lighten them and increase contrast, so that if a report is photocopied or faxed, the photo is still usable.
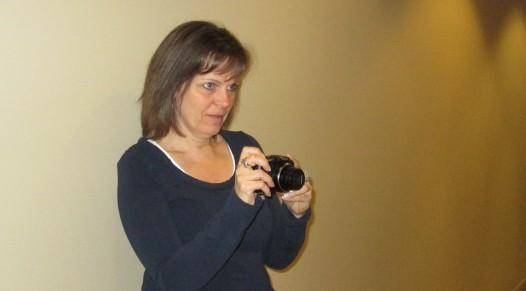
Tips from the ergonomists
Focus! Point at your target, and then hold the shutter half way down before you fully press the button, so that the camera will focus. Most digital cameras will give you a “green” signal to indicate that it is ready for you to take the photo.
Hold the camera level and still. If you shake when you hold the camera, your photo will be blurry. If your camera has a long zoom lens, or it is dark, blur is even harder to avoid. Stabilise your arm against a wall or railing, or use a tripod. You don’t have to look through the little viewfinder anymore, which means you can encourage and communicate better with your “subject”.
Take extra photos. You can easily delete the photos you don’t want or need.
Zoom! We try to ensure that the person takes up the majority of the frame – no one cares to see the ceiling!
Choose a comfortable carrying case. If you plan to take a large camera on vacation (or spend an entire day photographing workers), you’ll need to ensure that you can carry it safely and comfortably. If it’s awkward to carry, you’ll put it away or set it down, and then you’re sure to miss that perfect picture!
Experiment with your camera’s features. “Sport” mode allows you to catch fast action by disabling the flash, the pre-focus, and the playback on your screen – great for capturing your child’s first goal of the season, or workers while they are in action. “Macro” mode allows you to take close ups. Some cameras have a “burst” function, to take multiple shots in a row—you can capture the entire dive, from take off to splash! This is also a great way to take shots of workers performing a series of tasks. “Nighttime” mode shuts off the flash and leaves the shutter open longer, so you can get great campfire shots, if you can hold the camera very, very still.
Select your settings. 3 MP (megapixels) will print a nice “4×6” print, but won’t enlarge well. 7 MP will enlarge better, but will take more space on your memory card and hard drive. We find that lower resolution is better when you want a large number of photos in a word document.
Enjoy your photos! Too many people who convert to digital never print their photos. Make a habit of printing them, or saving them to your digital photo frame every time you upload them to your computer, or use a digital frame to display your creative talent. (And don’t forget to back them up!)
For more practice using photography in physical demands descriptions, please join us for our PDD workshop!